Stuck in the Design Phase
One of the designs I’m looking forward to doing as a result of my mentorship in designing with Photoshop
I’ve been stuck in the design phase this year - but in a good way.
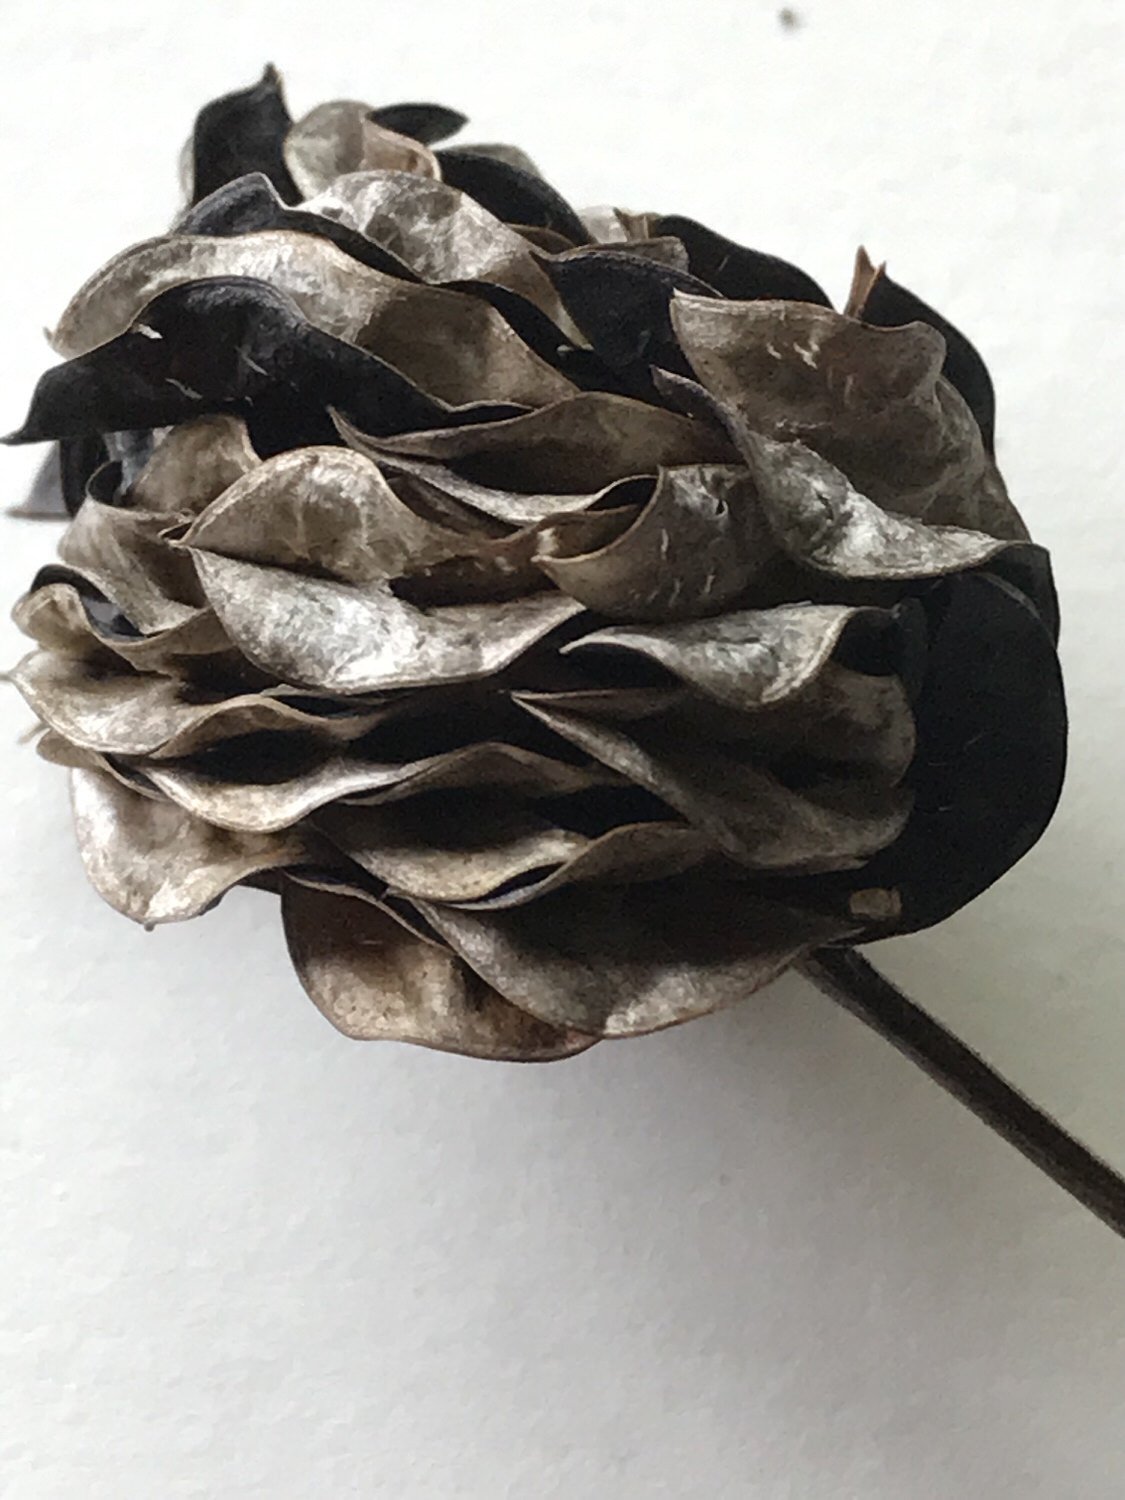
This idea for a series of weavings goes back years now: of the wildflowers I’ve gotten to know in my area. I’ve both alluded to and written about these various wildflowers in the past: here, here, and here, for starters!
The weavings I’ve had in my head were to be a tribute to each plant. My struggles came from the fact that I didn’t want to just weave a flower. I wanted to add some complexity to the design. Of course, collage was a great option, but I have never worked well in that mode. Instead, I nearly always turn back to my pencils and paper. Still… after multiple drawings, I came to wonder if learning some Photoshop techniques might be what I was looking for.
In January of this year, I applied for a mentorship with Mary Lane. Mary often uses Photoshop in her design process and I’d both read her blog posts and heard her speak about it, so I wrote to ask if she’d take me on. She suggested I go through ATA (just one of the many benefits of a Circle membership in ATA). 😊
What followed was 6 months of study exploring unfamiliar-to-me tools in Photoshop.
Mary began our communication with a list of PS techniques and tools to serve as a checklist as we went forward. We began with weekly email communication, then - as we were both traveling, we corresponded as needed. We also scheduled invaluable zoom sessions in which I would share my screen and Mary would guide me through the various tools and techniques. I recorded them, too, which allowed me to review the steps until I had a firm grip on the methods.

The first design we worked on.
The first image we worked on was the Illinois Bundleflower. You may have seen my sketches for this in other posts. With this, I was introduced to the blending mode. Wow. It blew me away! Probably because of my love for the transparency color-blending technique in tapestry and the potential there.
I will admit (and Mary can attest) that I liked the blending mode soooo much that I leaned a little too heavily on it at first.
Above are the two original images that were manipulated and blended. This was just the beginning. From blending, we went on to filters, which I’d dabbled in a little bit. Turns out, a very little bit!
Here’s one tip I learned: The cut out filter is especially handy for tapestry.
I did also add a transparency border to it before we went on to another image. I was pretty excited about this one- and still am, although at the time, Mary had encouraged me to tweak it a bit further (contrast, simplification). I made the decision to put a hold on the Bundleflower and move on. I’m glad I did. I’m ready to come back to it again now with fresh eyes. Tweak the contrast… maybe play with different filtering options.

Another image with lots of layering
As I learned new tools, we used different images from my wildflower collection as starting off points. We worked quite a bit with layering and the nuances involved.
Files could quickly grow quite large! I found organization challenging at first, but Mary had some good advice for that, too. Keeping all the PS files on an external hard drive was a godsend. I can still muck it up, but at least they’re more contained in one spot - and not taking up dwindling space on my computer.

Playing with text and moving objects around, adding backgrounds, filters… so many options and decisions!
Our mentorship ended in July resulting in a few designs closer to solidifying and even more germinating. None are quite ready to weave yet. I write this blog post to serve as a record of reference as I’m ready to return to each image.
Designing for tapestry with Photoshop in this way is hugely time-consuming, but equally rewarding in the possibilities. It is truly like learning a new language. I know I have a long way to go in really becoming fluent, but thanks to Mary, I’m off to a good start.